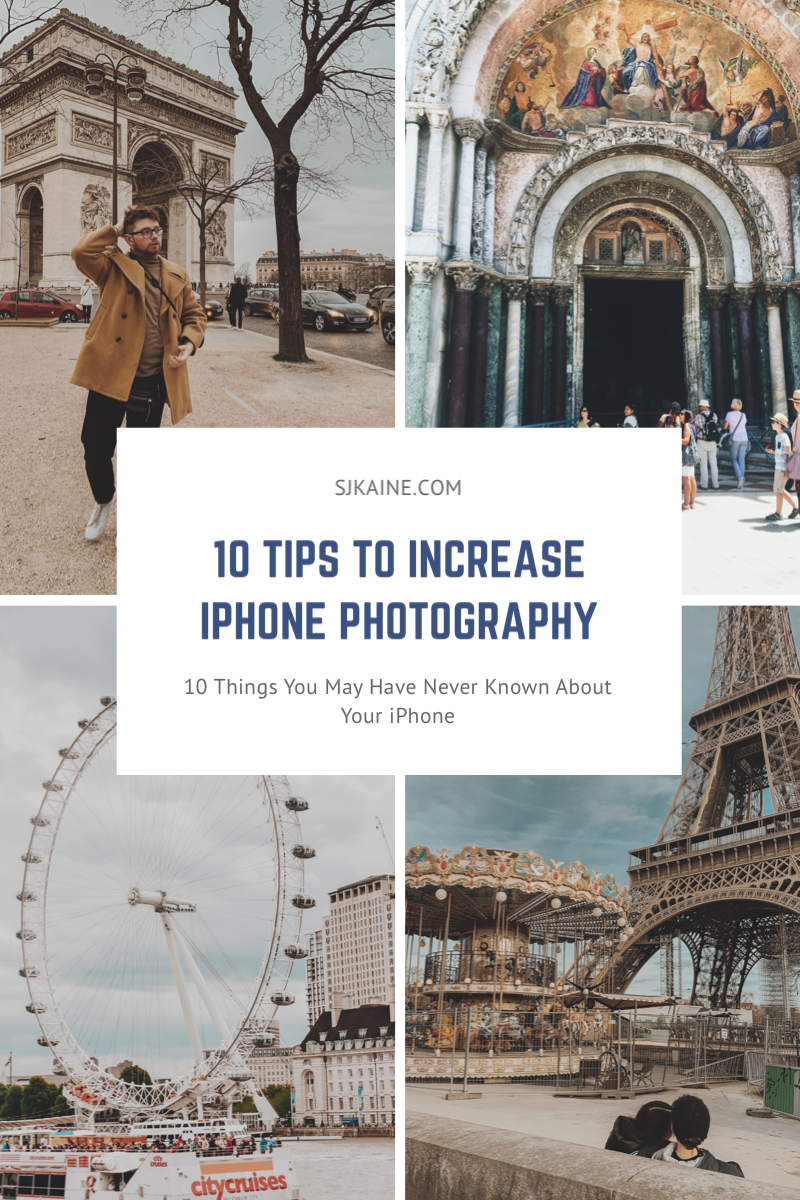
As a blogger, photos are key, whatever niche you’re apart of! And, I am here to tell you that achieving a great photo isn’t hard nor do you need an expensive camera! Today, I am going to share with you 10 tips to increase iPhone photography!
First things first, photography should be fun! I just want to get that out of the way because as everyone knows, we all can feel discouraged when it comes to certain things. So, remember to always have fun with anything you do (unless you’re trying to get a professional job lol.) Now, let’s get into it.
Lighting
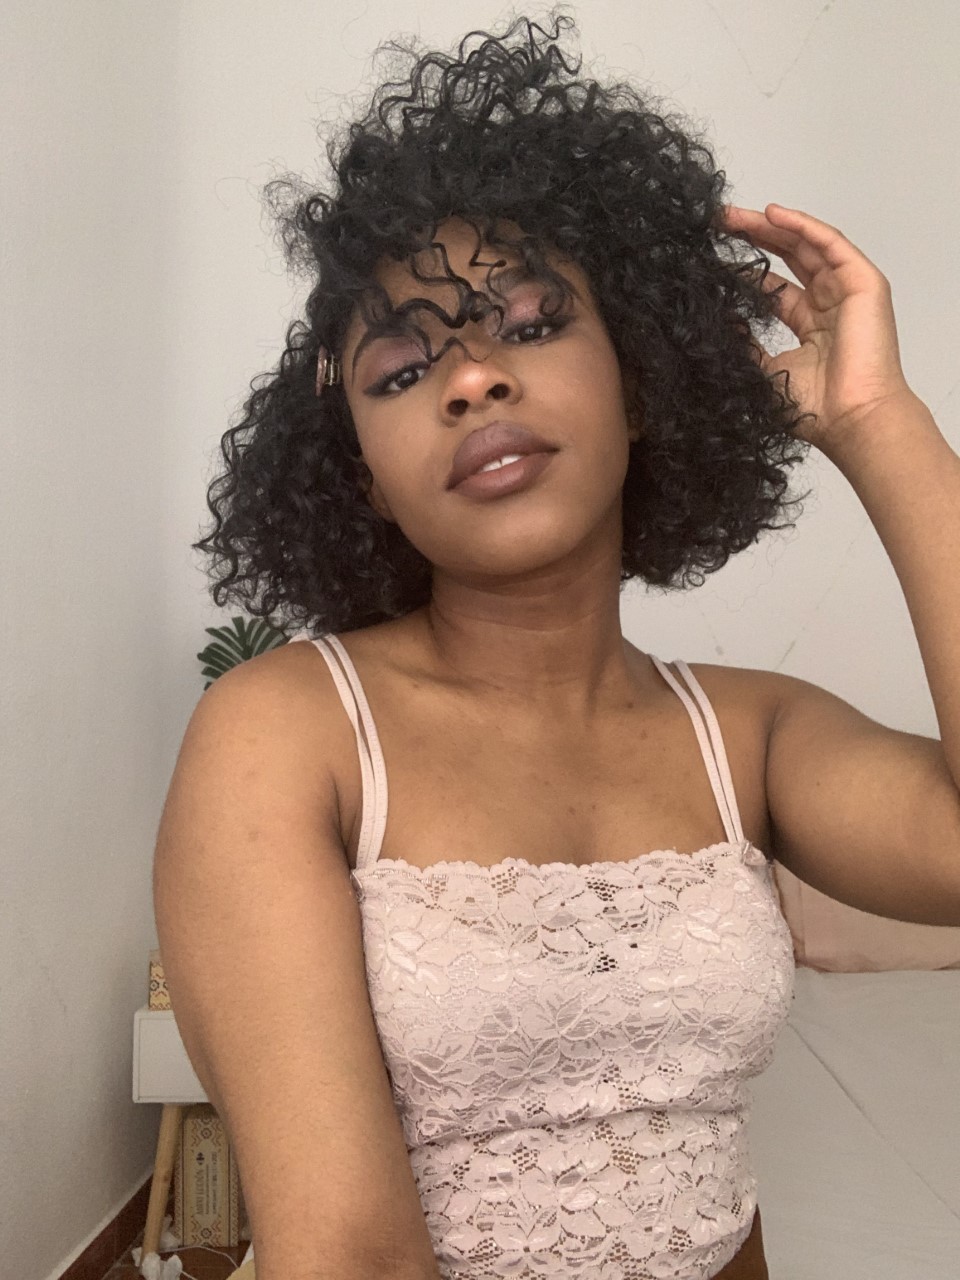
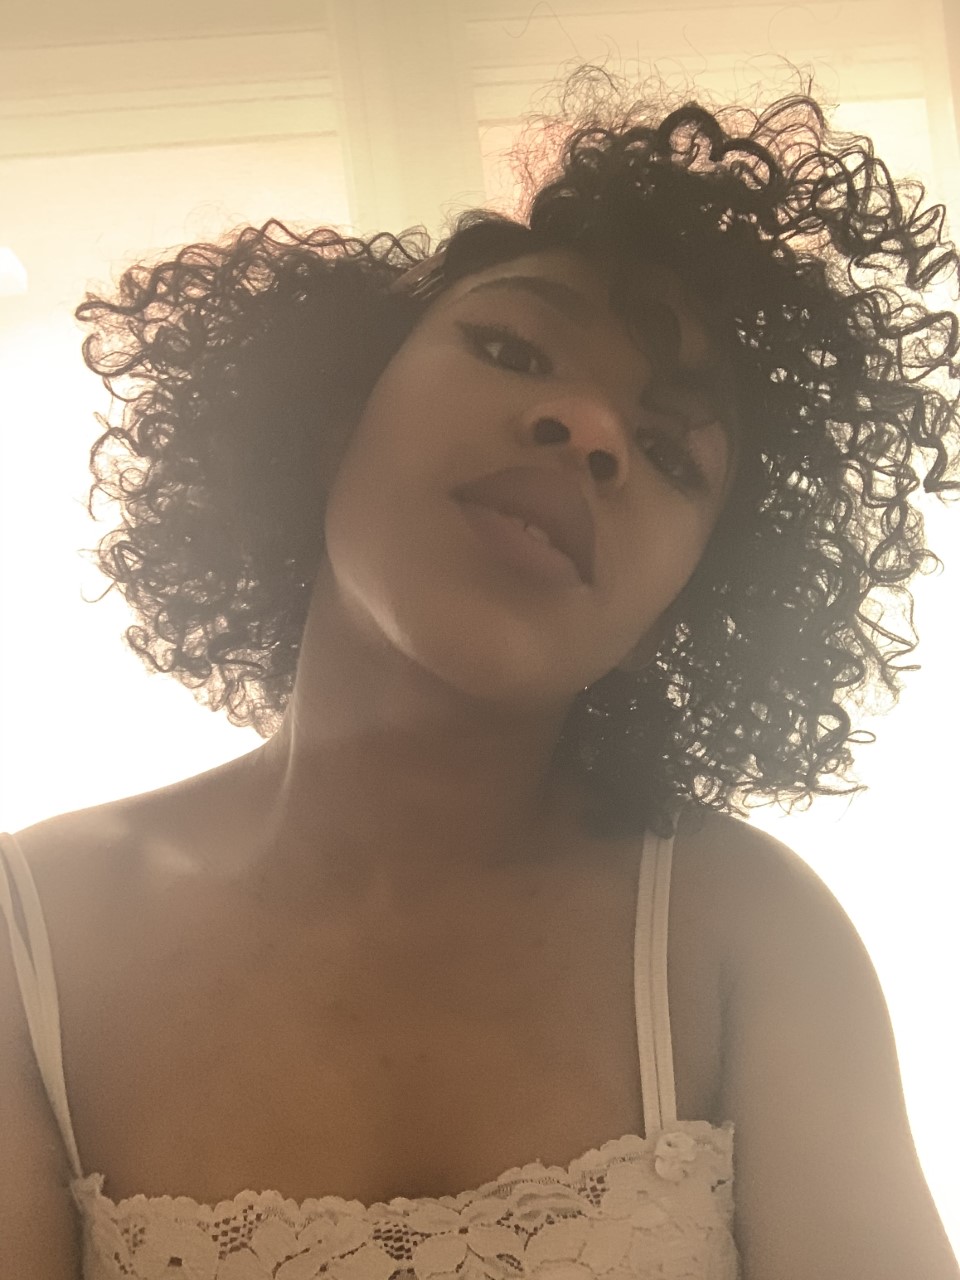
Lighting is important for whatever photos you’re taking, whether you’re using your iPhone or a DSLR camera. You need to make sure the lighting looks great and that you can see your subject, product, or whatever you’re taking a photo of perfectly.
I like using natural soft lighting rather than using the light inside my home because it doesn’t look as good. I personally don’t like yellow light and as a broadcast major, we were always told to pick up white lighting and make it look bright.
Plus, natural. light comes with some advantages because it comes in different waves. You can take photos in the early morning when the sun is rising, midday, and when the sun is setting. Any time of the day is going to give you a nice aesthetic.
- Outdoor Photos
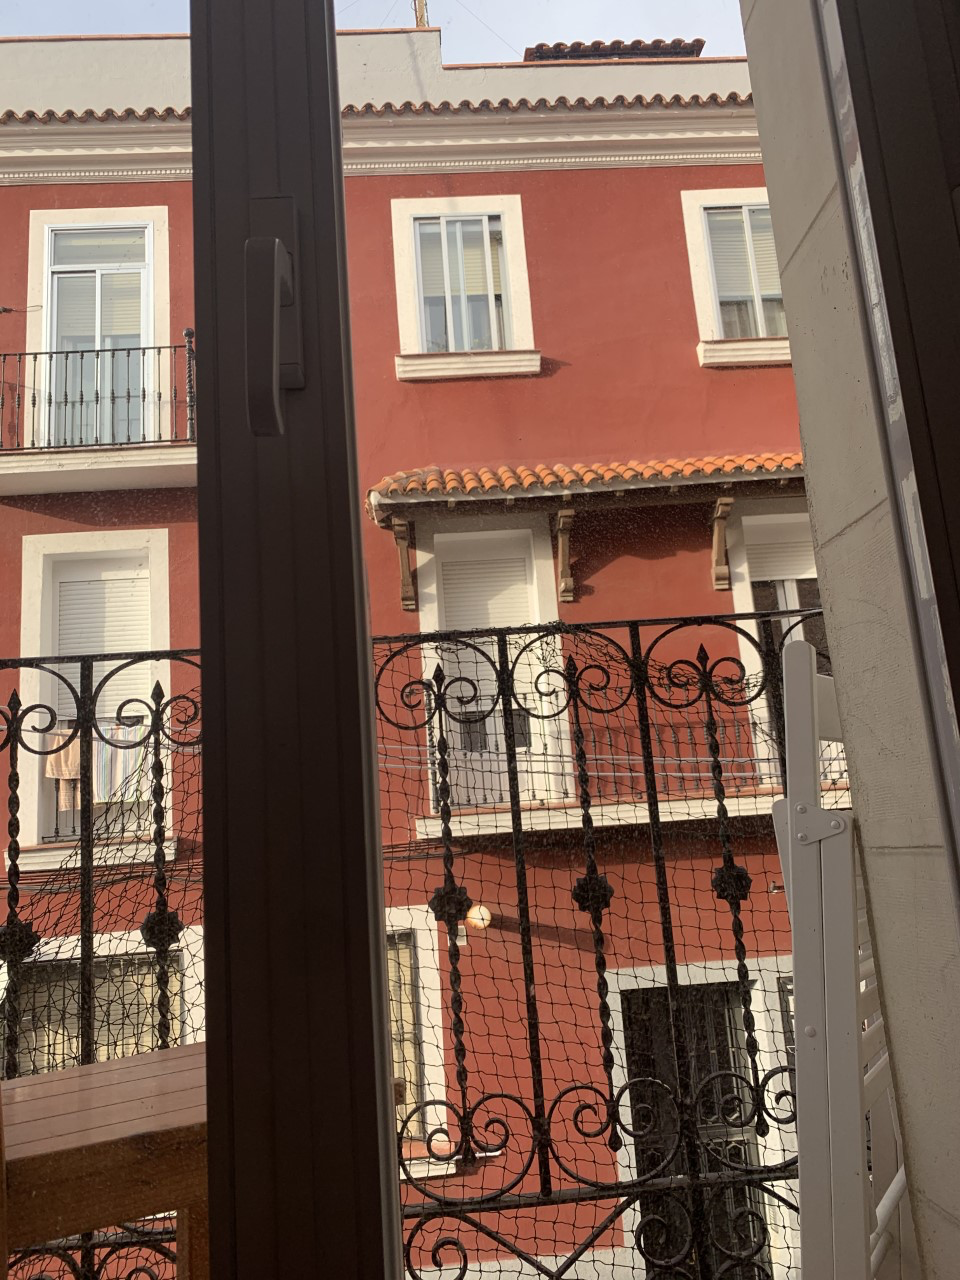
When taking photos outside, I would suggest looking for shade and always take the photo away from the sun. However, if you’re going for a certain look and want some darkness to it (in a good way) go ahead. Otherwise, if you take a photo facing the sun (incorrectly) it’ll just come dark and shadowy.
- Indoor Photos
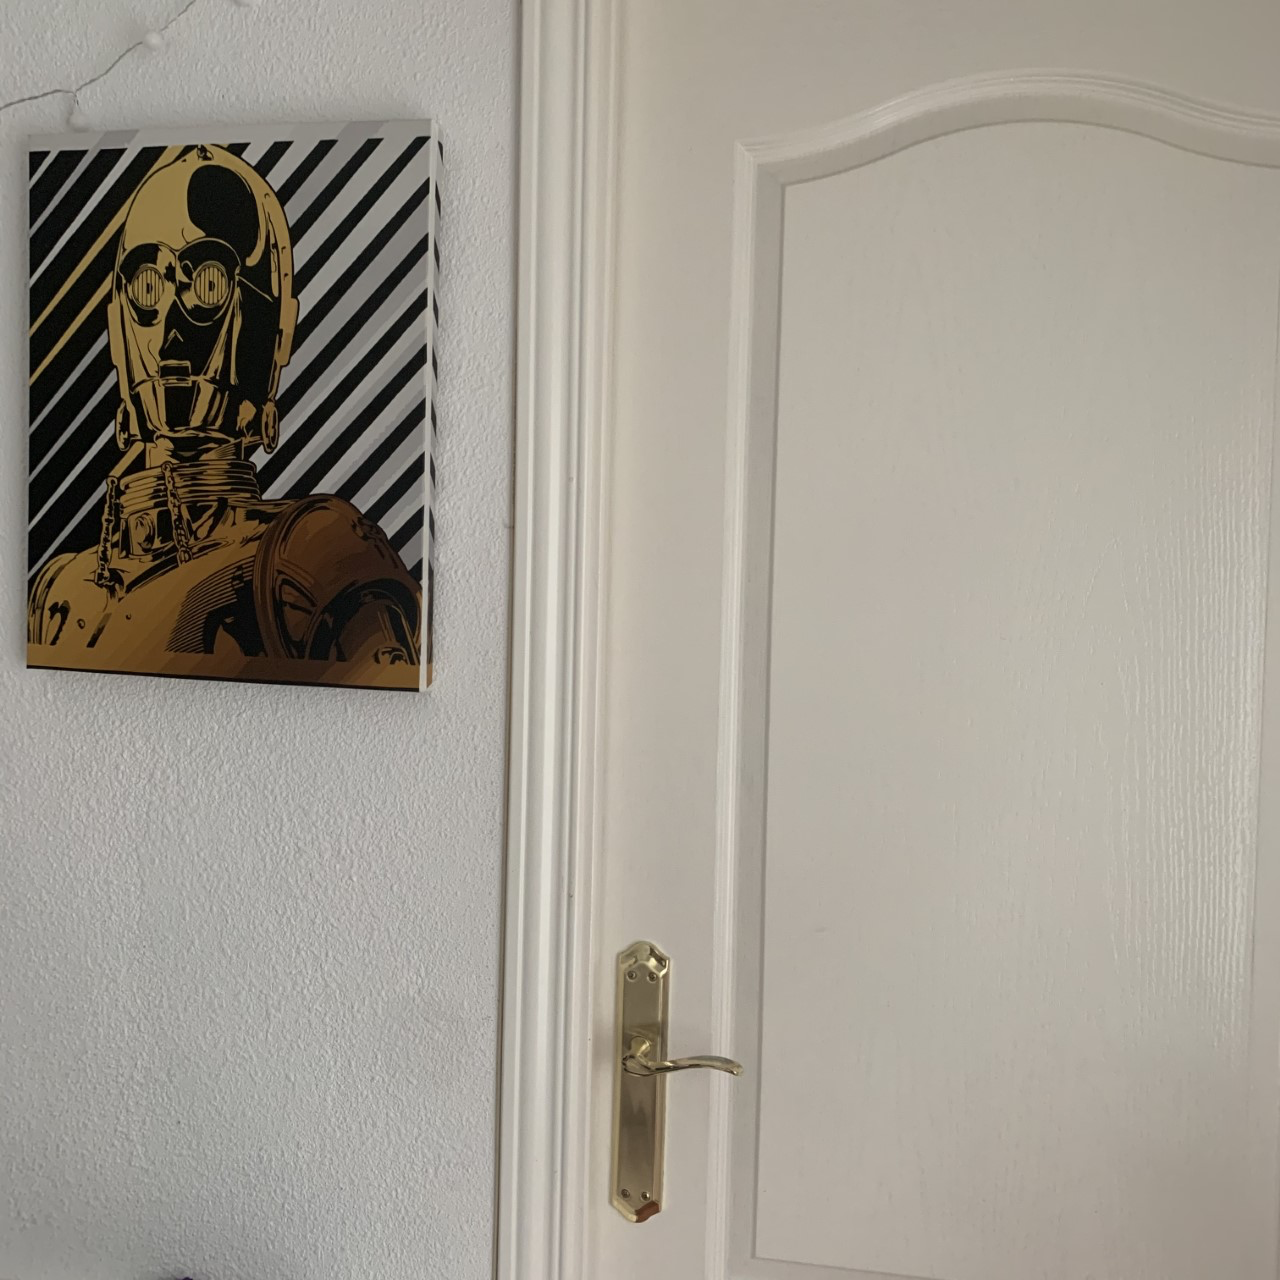
Take the photo facing away from a window. This will make the natural light shine onto you in a good way. If you’re standing in front of the window, you’ll once again look dark unless you do it properly. I think indoors is a little easier to do it in front of the window since the sun isn’t as strong and you can work better with the darkness.
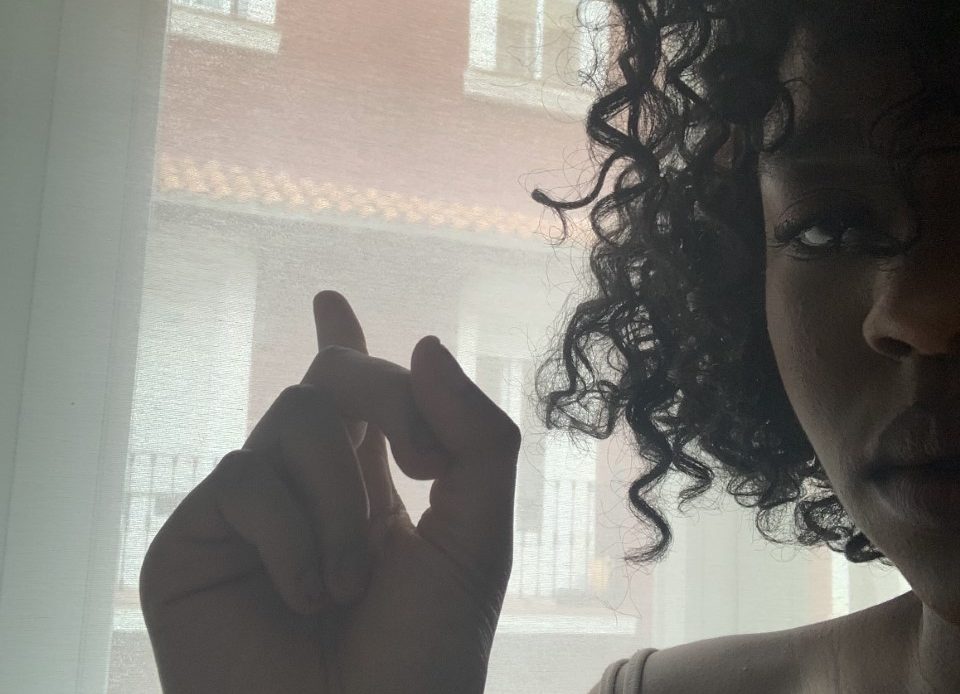
The left is away and the right is standing in front.
Taking The Actual Photo
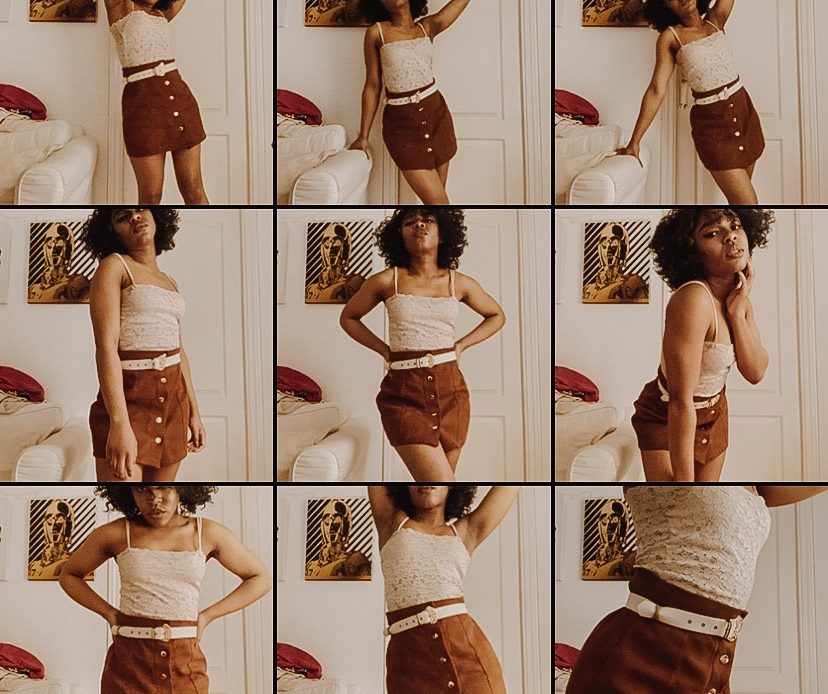
Firstly, your grid should always be on because the rule of thirds is super important for capturing your photo on a perfect scale. Secondly, always play with different angles. Angles are important because whichever way you take it comes with an advantage.
If you take the photo from a bending down and pointing your phone upwards, the subject is going to look taller. If you take it the opposite, with your phone bending downwards, the subject will look like you’re seeing more.
Taking the upward and then downward.
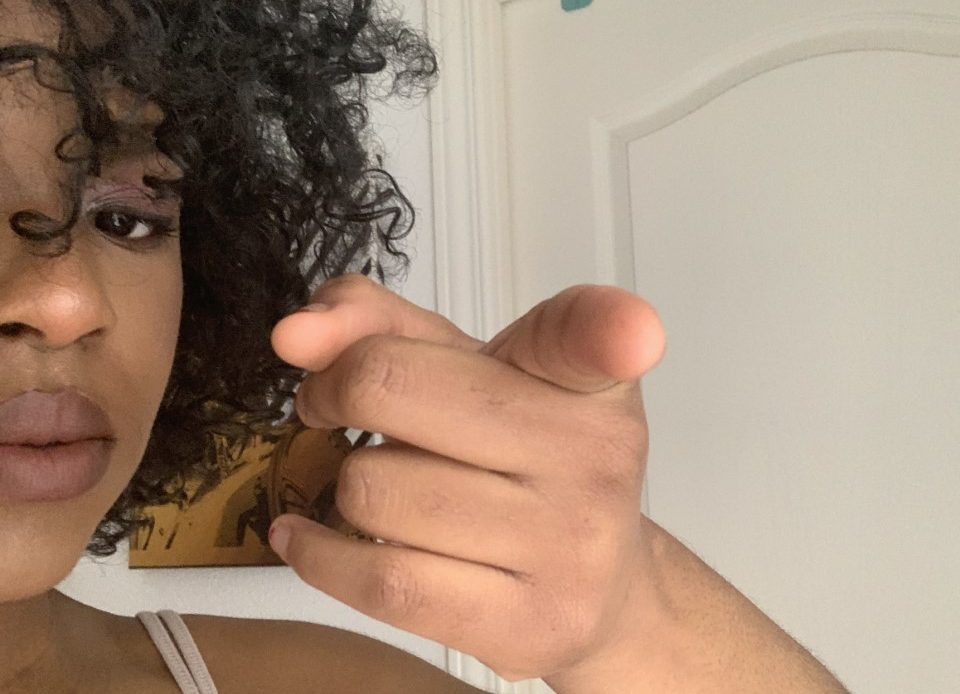
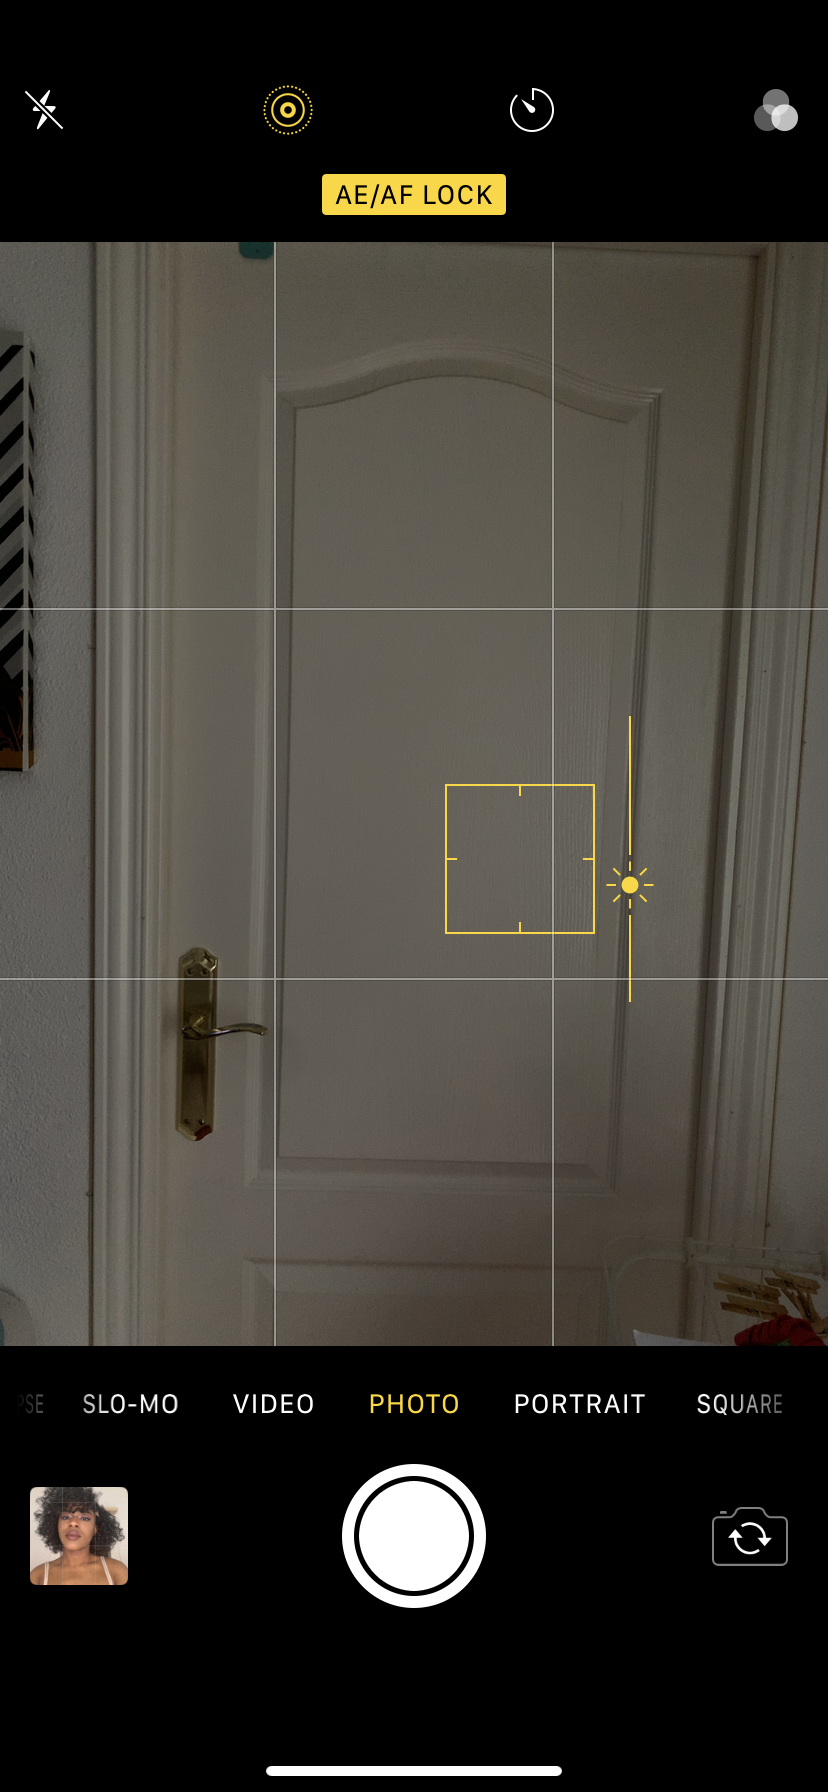
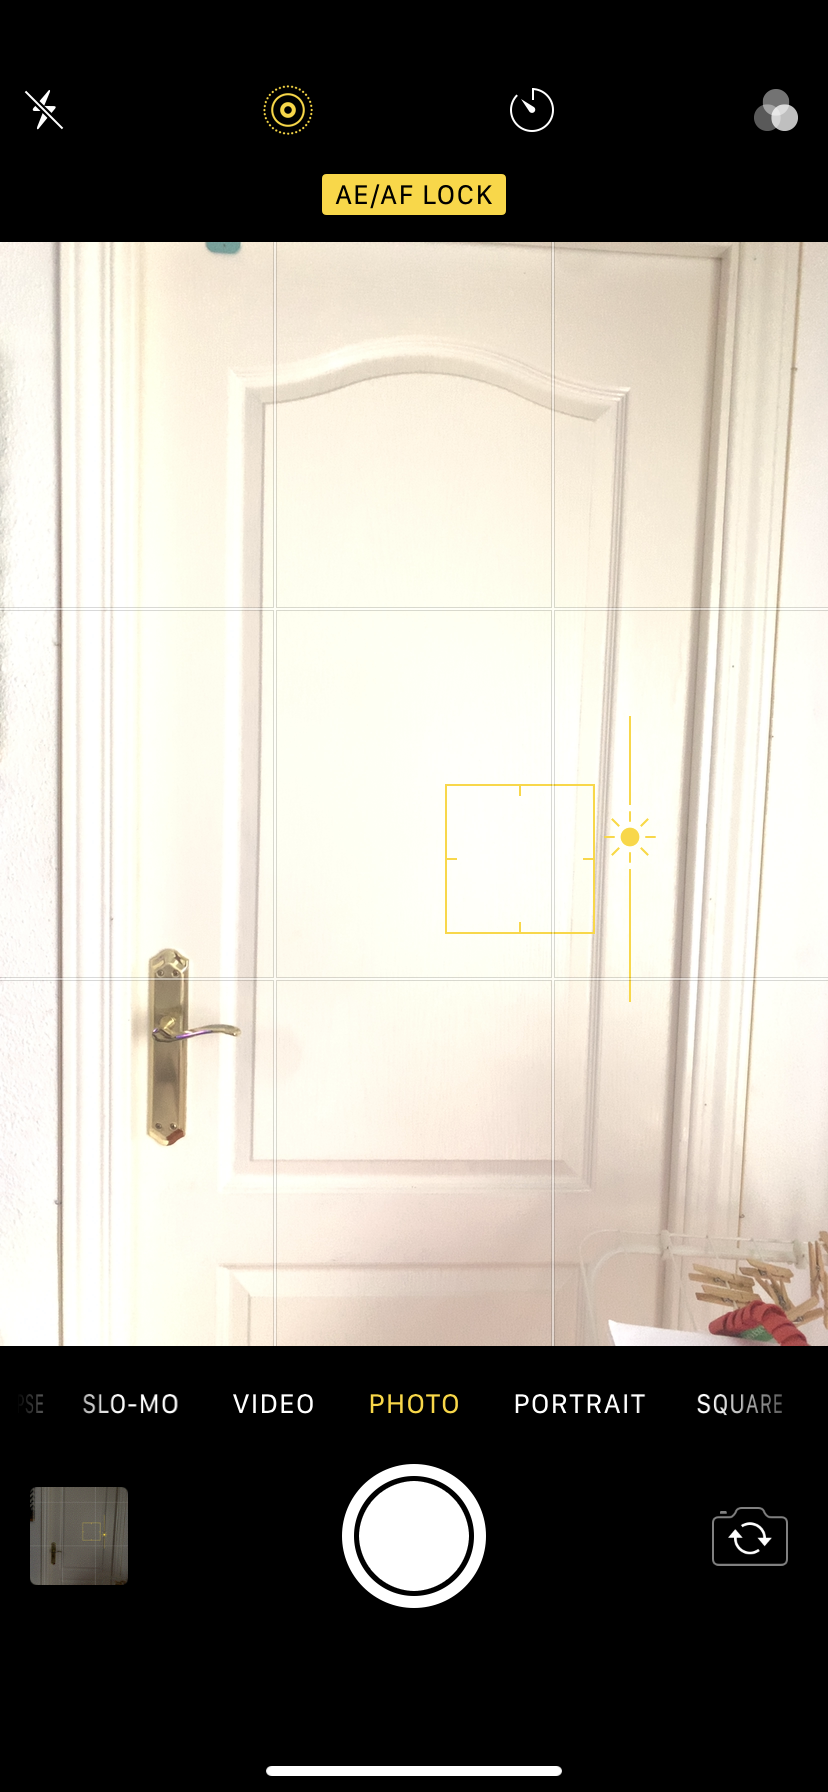
Shaky Hands?
If you have shaky hands or struggle with keeping them steady when taking photos, hold down on your phone screen and put the camera into AE/AF lock. When you take the photo, it will be focused and centered on what you want it to be.
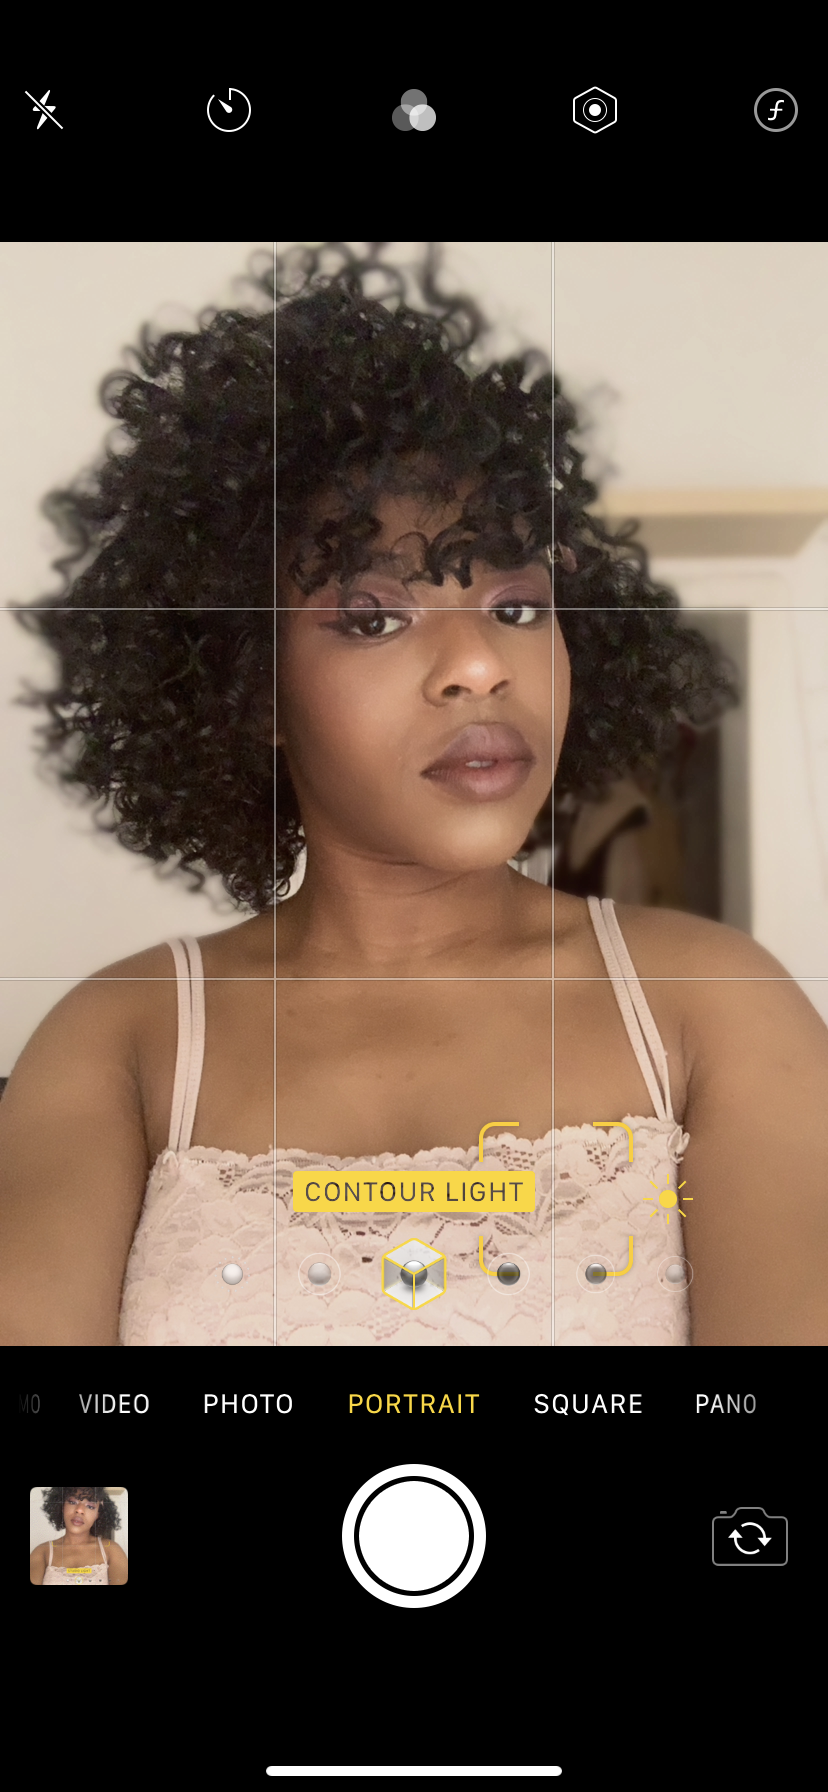
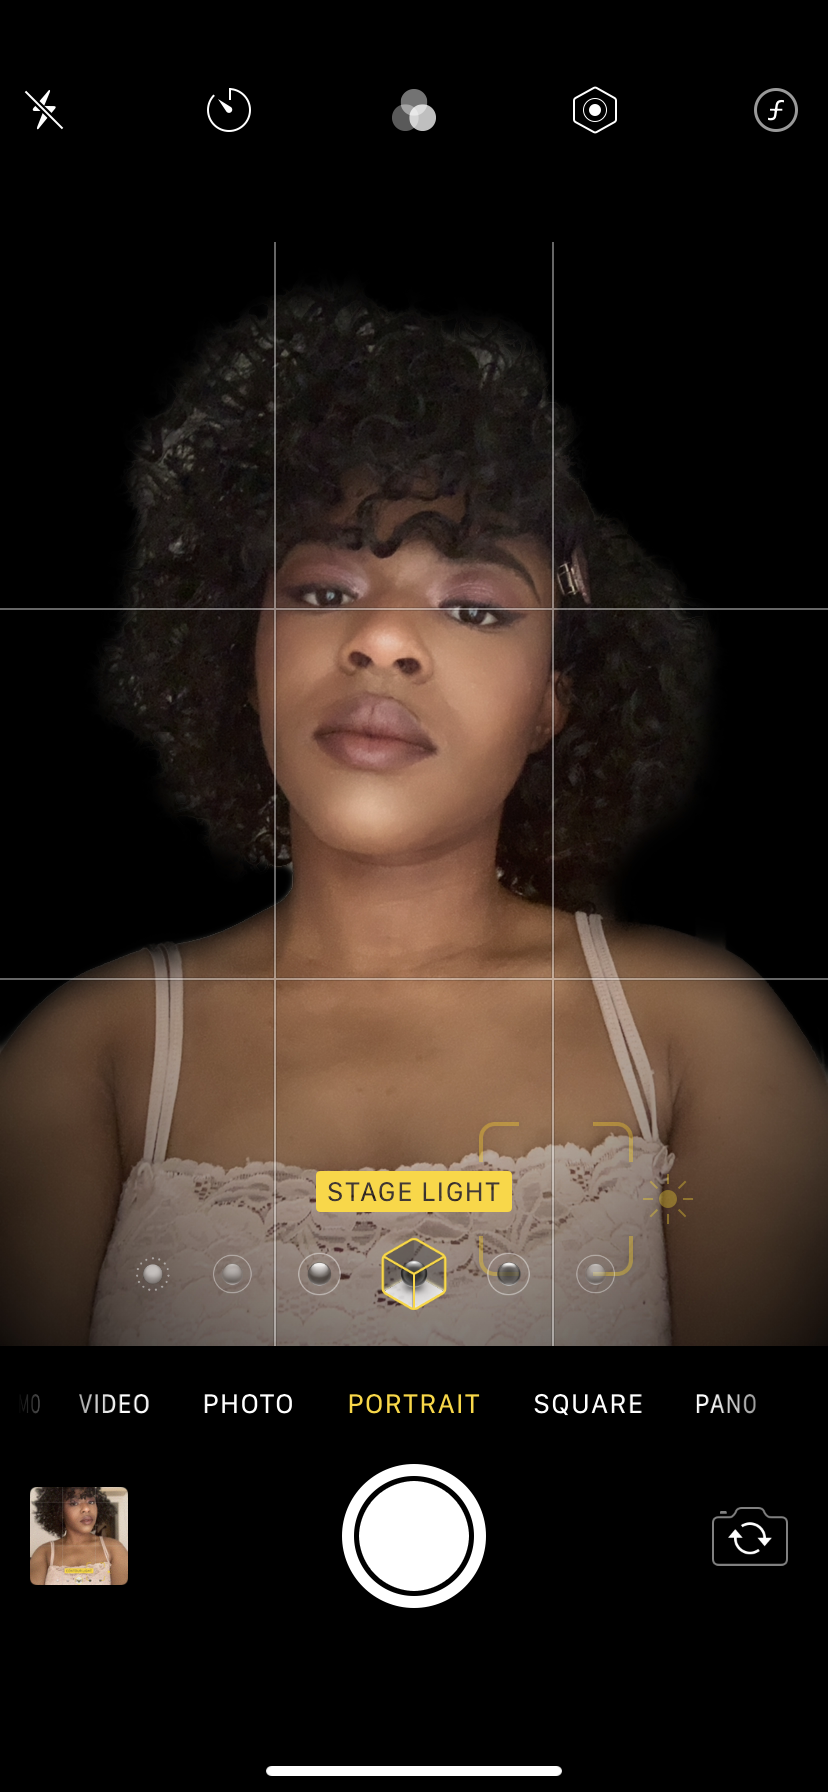
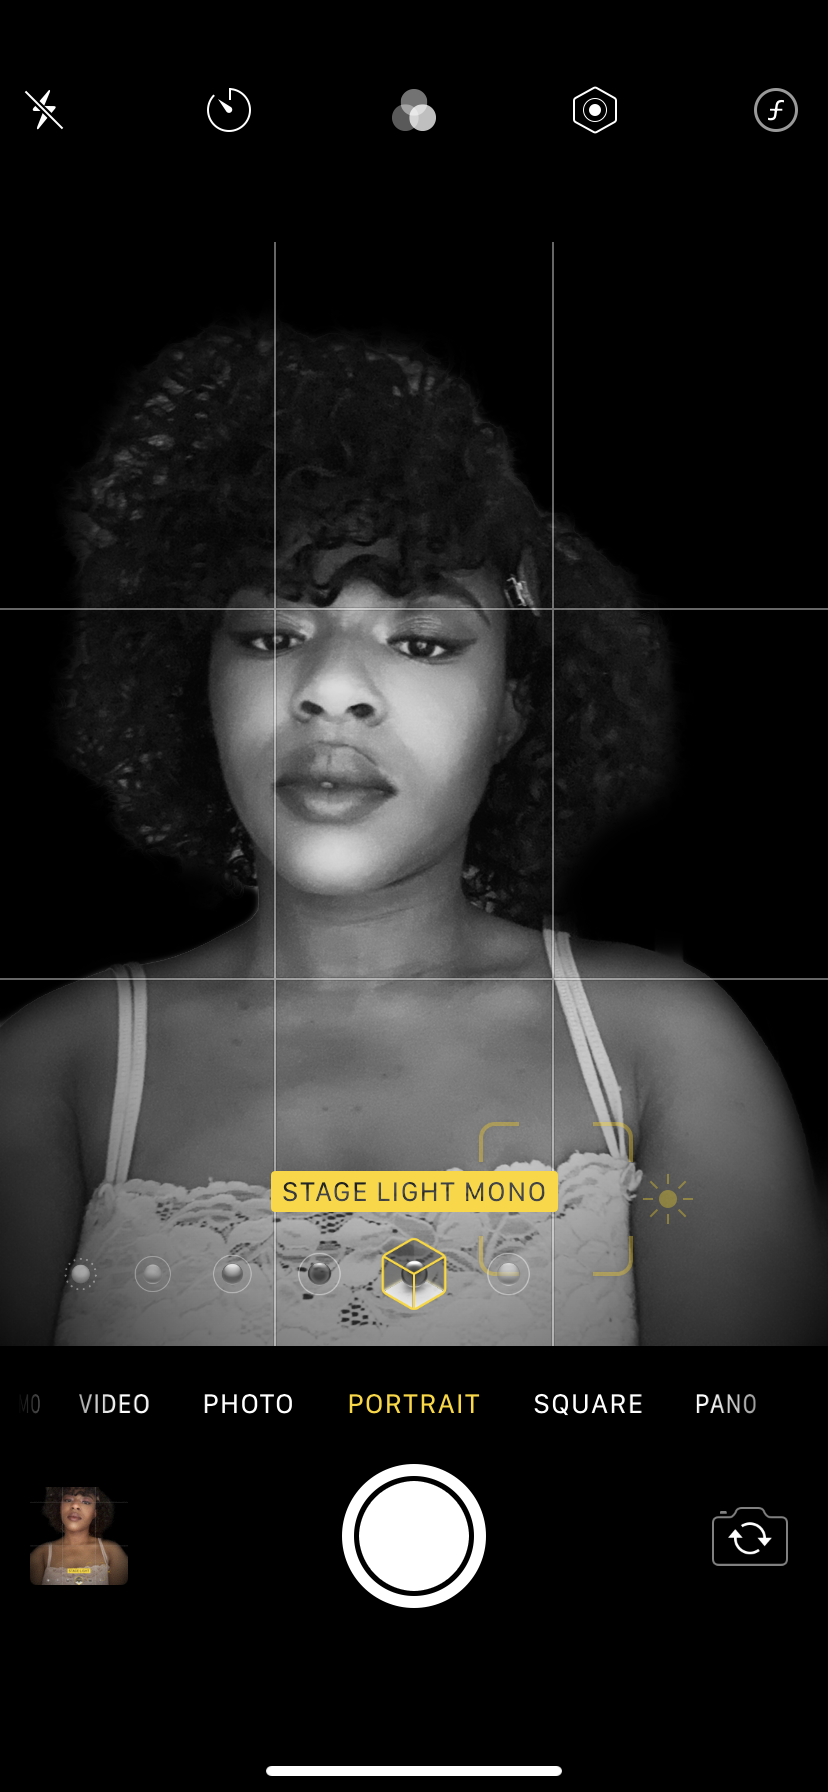
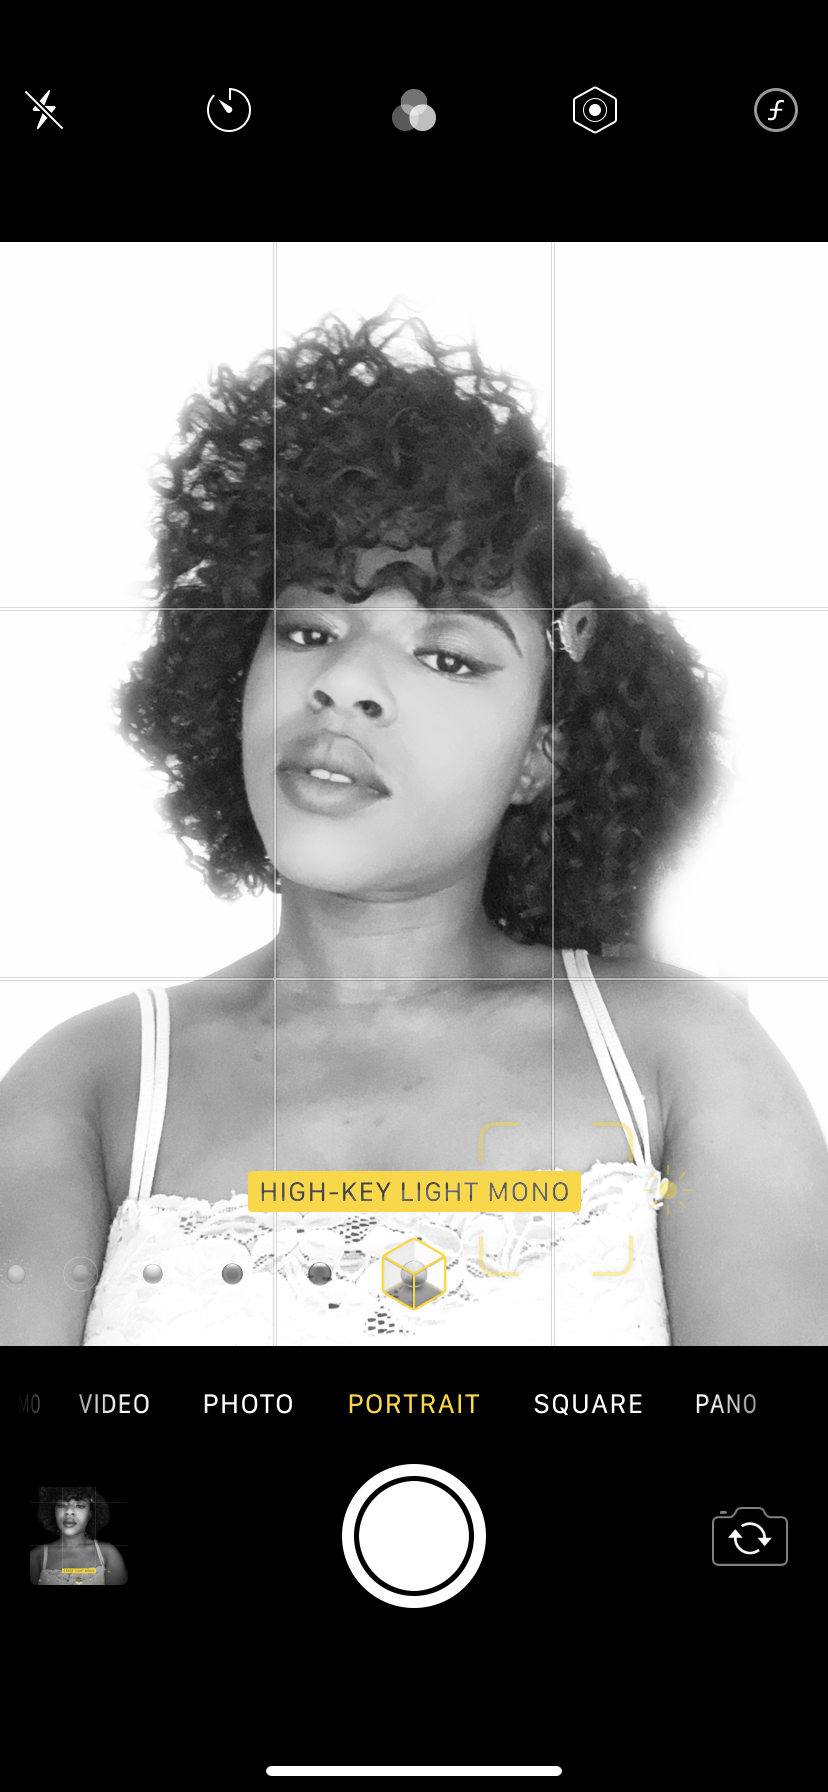
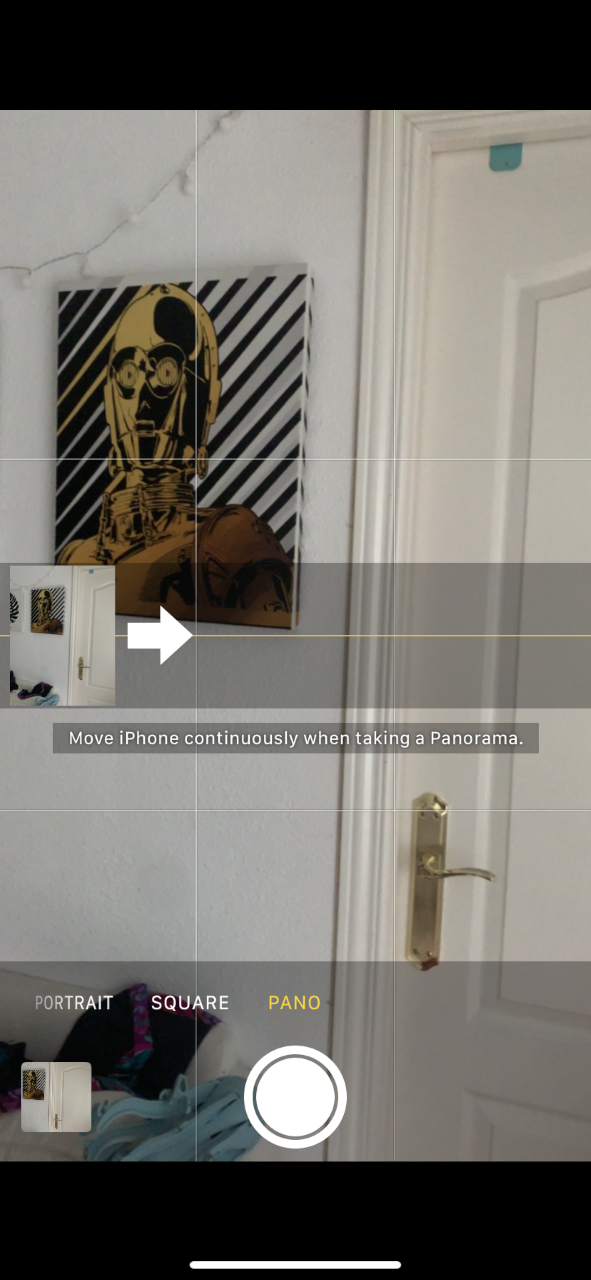
Use the Built-In Elements
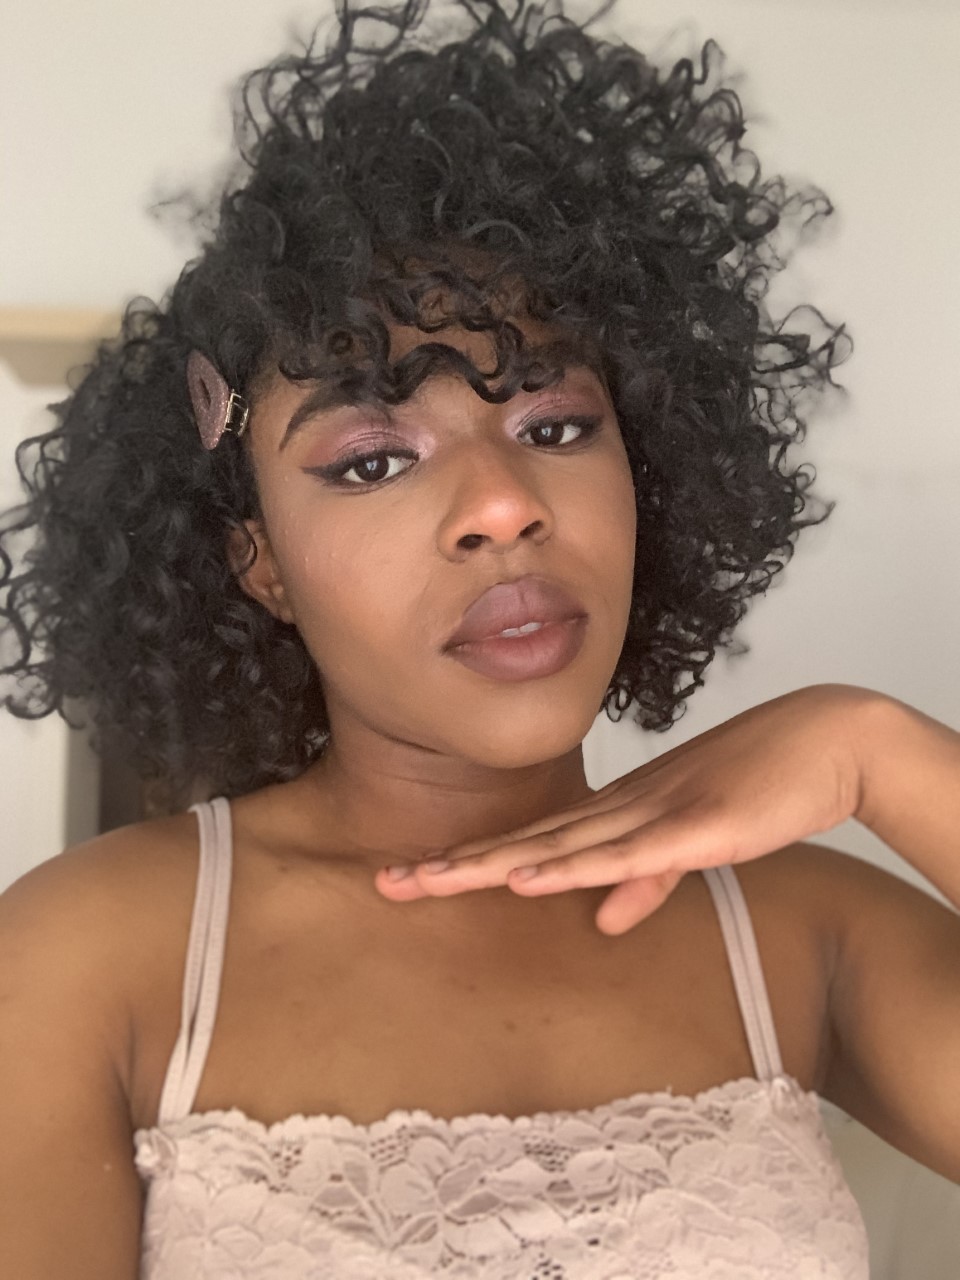
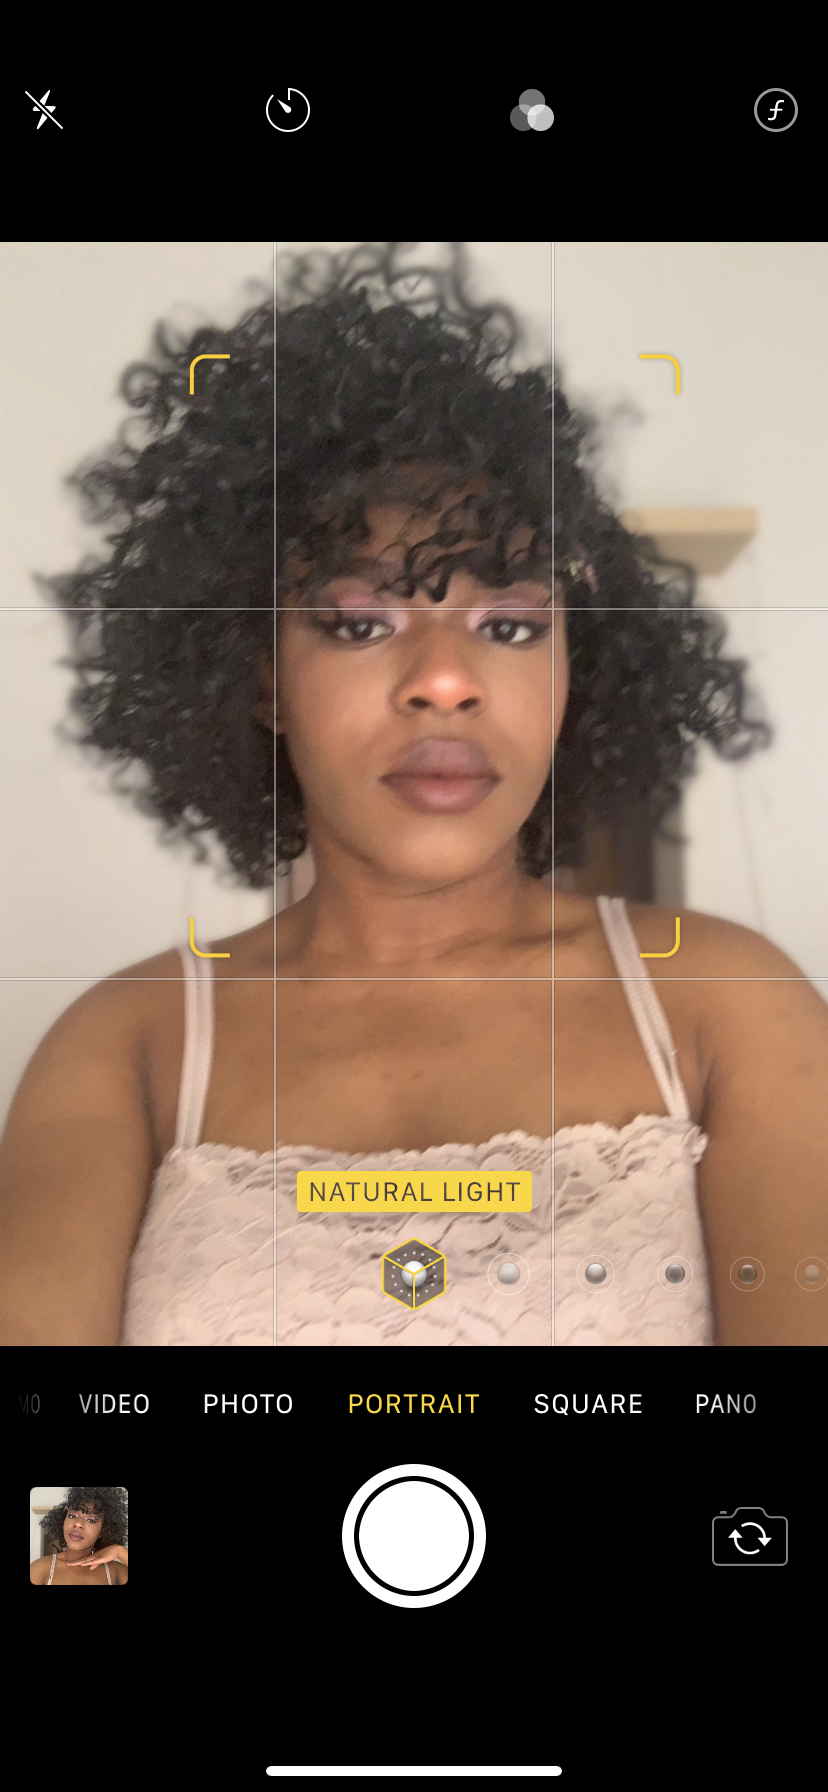
The iPhone has a ton of built-in elements such as portrait mode, pano, square, and much more. Portrait mode has different types and its perfect to use when you’re going for a more aesthetic photo. With the other tools, play around with them and have fun. You never know what you can create!

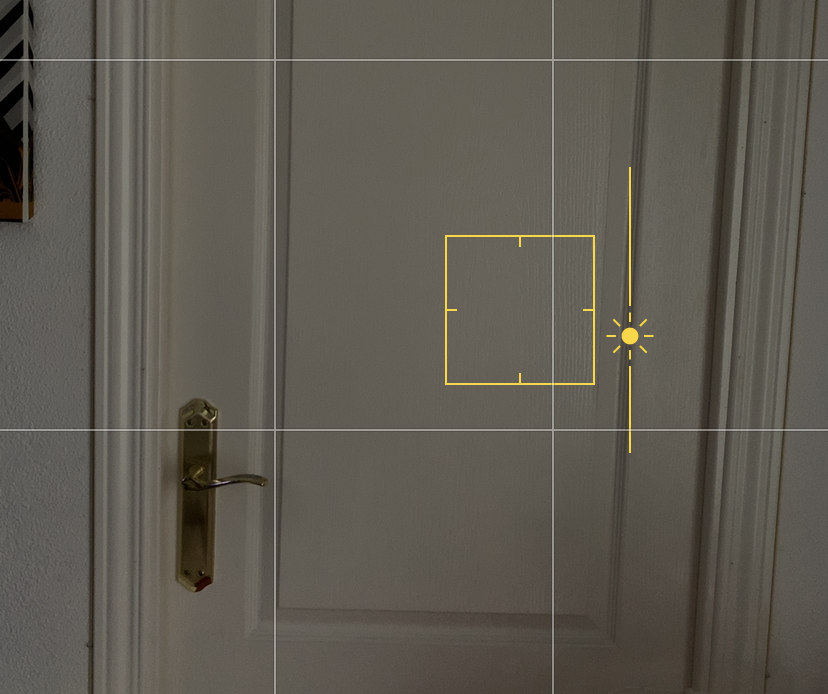
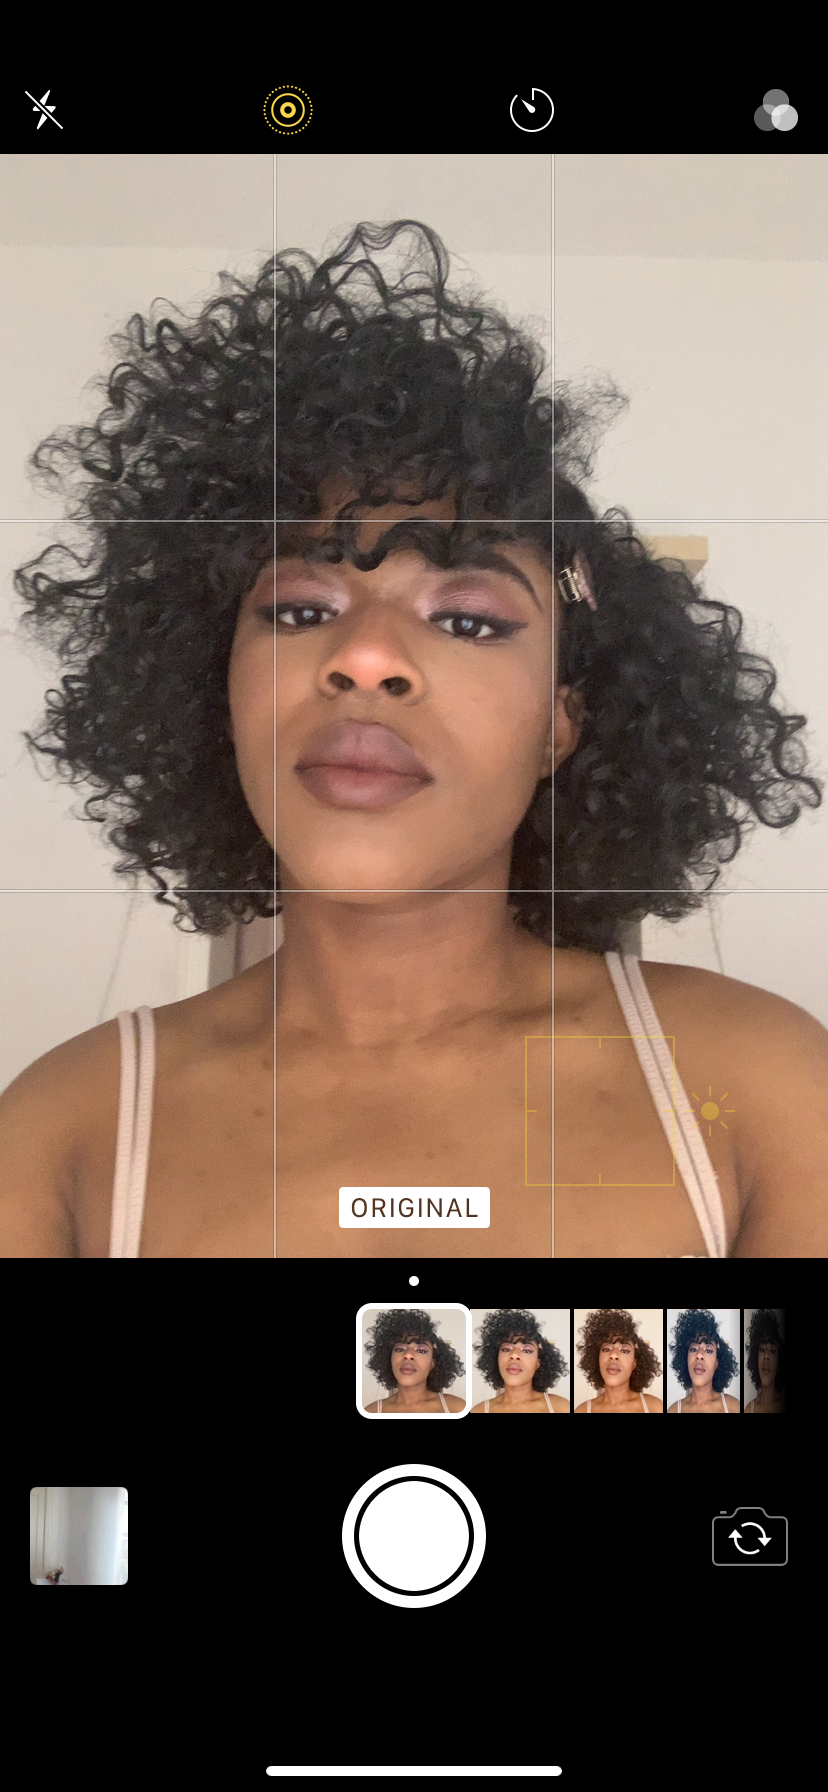
Adjust the Exposure
If you hold the screen down, you can adjust the exposure before taking the photo. The same yellow box will pop up and you can slide the slider (on the right side) up and down to change the light from either brighter to darker.
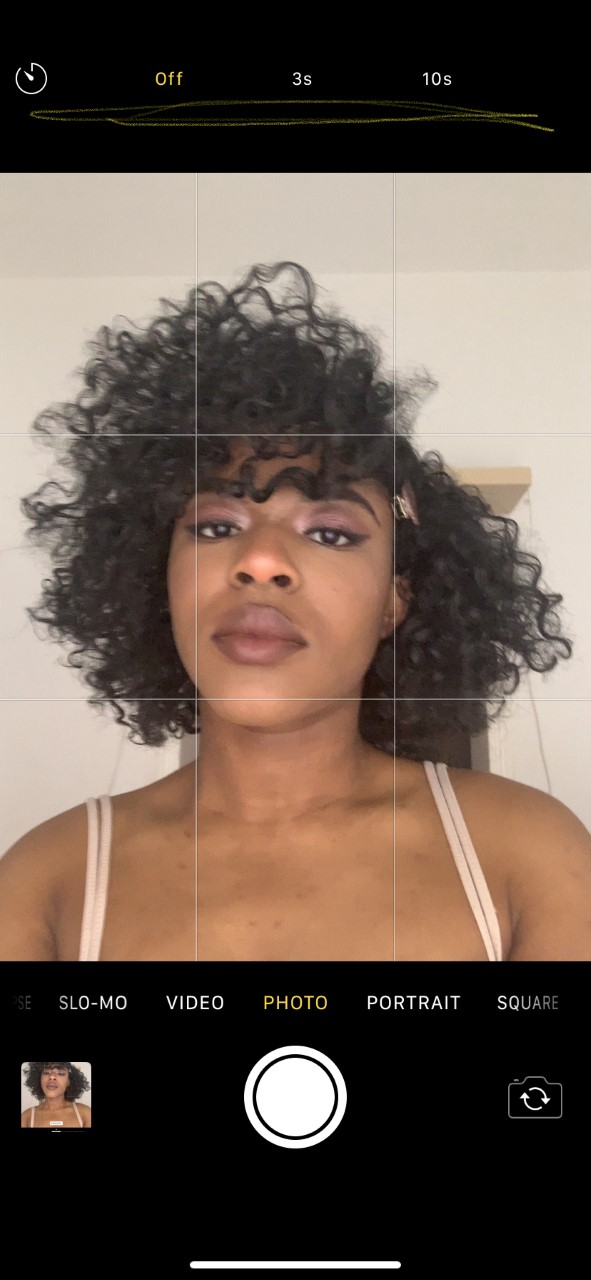
Taking Your Own Photos
As bloggers, we need photos (especially us fashion bloggers) and we don’t always have a photographer or Instagram husband on hand, so we have to do it ourselves. iPhones and many other phones now have self-timers that allow you to take your own photo. Set up your phone on a tripod or against something sturdy and put the timer on either 3 or 10 seconds.
Use the Filters
Not many people know but iPhones have their own built-in filters and you don’t have to download a separate app. I find this helpful if you’re someone who likes black and white photos (for example) and wants to see how it will look beforehand. You can just take multiple photos in black and white.
Turn Off Your Flash
Flash just makes everyone look ghastly. You don’t need it on unless you’re trying to be creative.
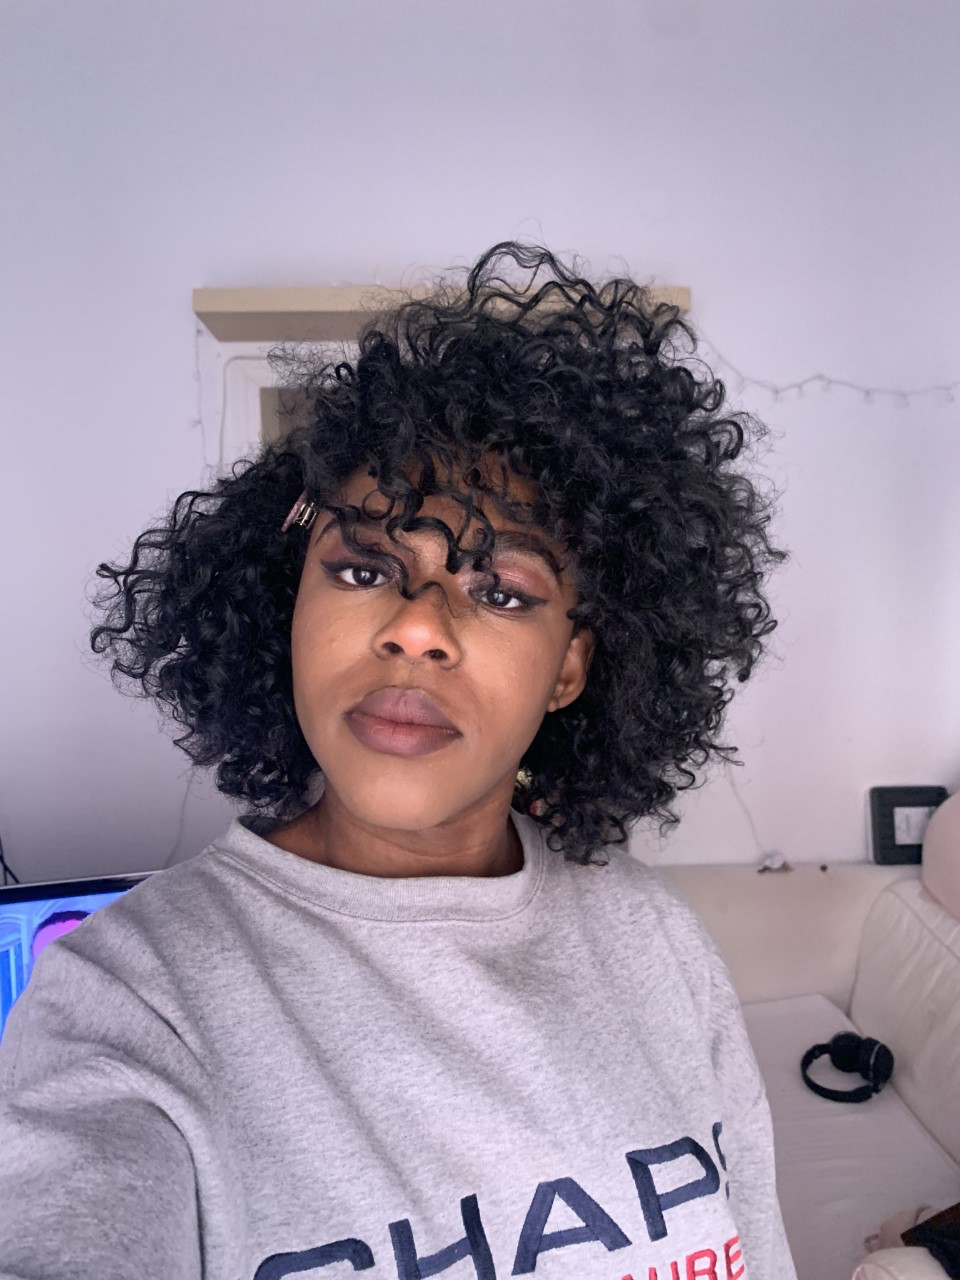
Use the Back Camera
Sometimes using the back camera can make your selfies look better. Back cameras are always better so, use your volume button and snap away.
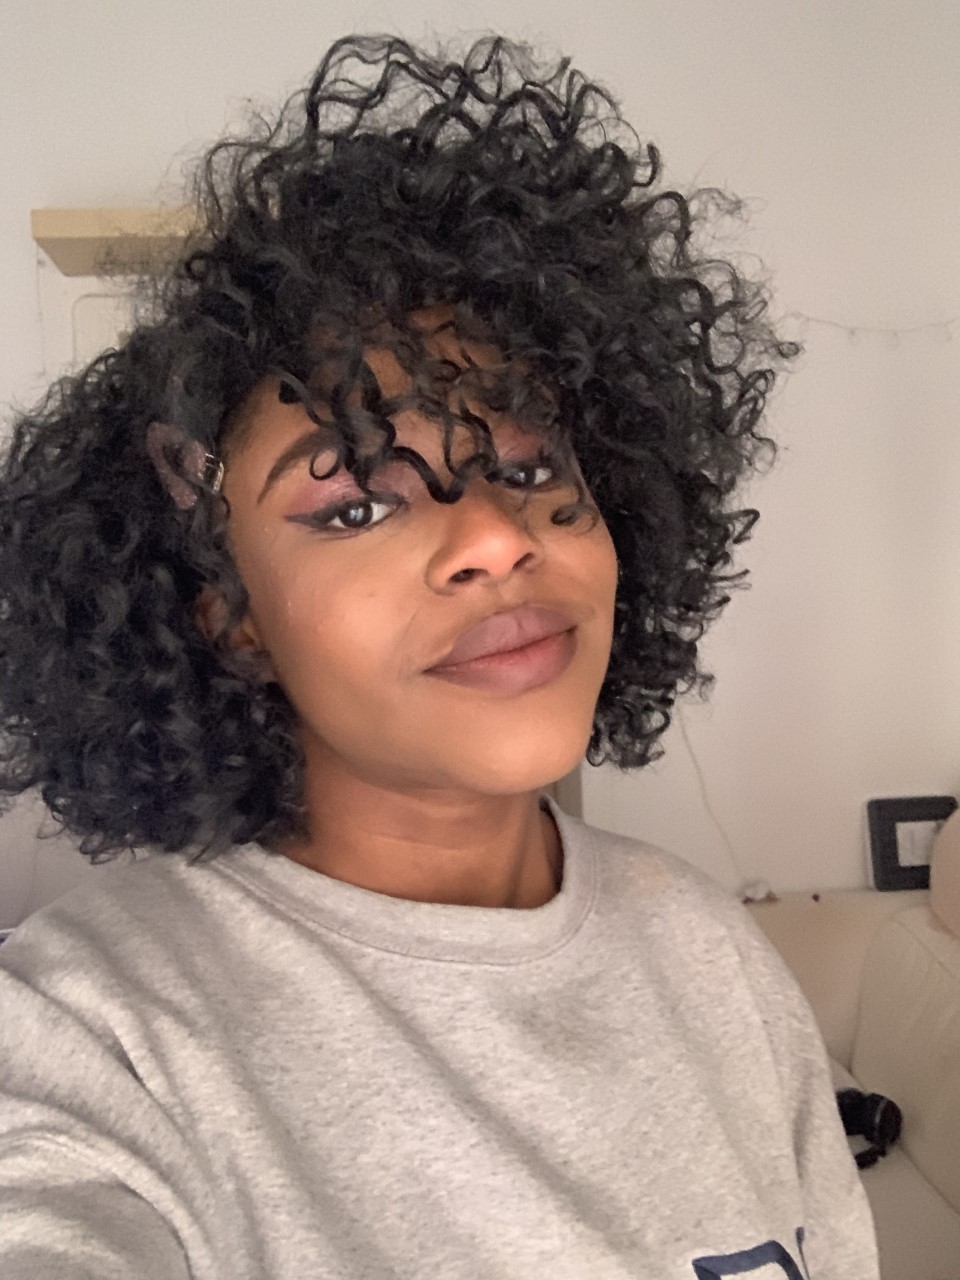
Left is the back camera and the right is the front camera.
Use Burst Mode
Burst mode was created for on the go shots! If you’re trying to capture something moving quickly, action, kids playing– this mode works amazingly.
HDR
HDR works when you’re taking photos of something bright. A chandelier, the sunset, etc, the HDR option will automatically pop up and do the work for you!
That’s all the tips I have for you! I hope you enjoyed and learned something new! Once you get the hang of the basics, start learning how to edit!
Comment, Like, Share & Subscribe!
Follow my socials!
IG @ sjkaine. Twitter @ sjkaine Snapchat @ uncool_shaaay. Pinterest @ shennamu
Xoxo,
Shay!, Bye!